
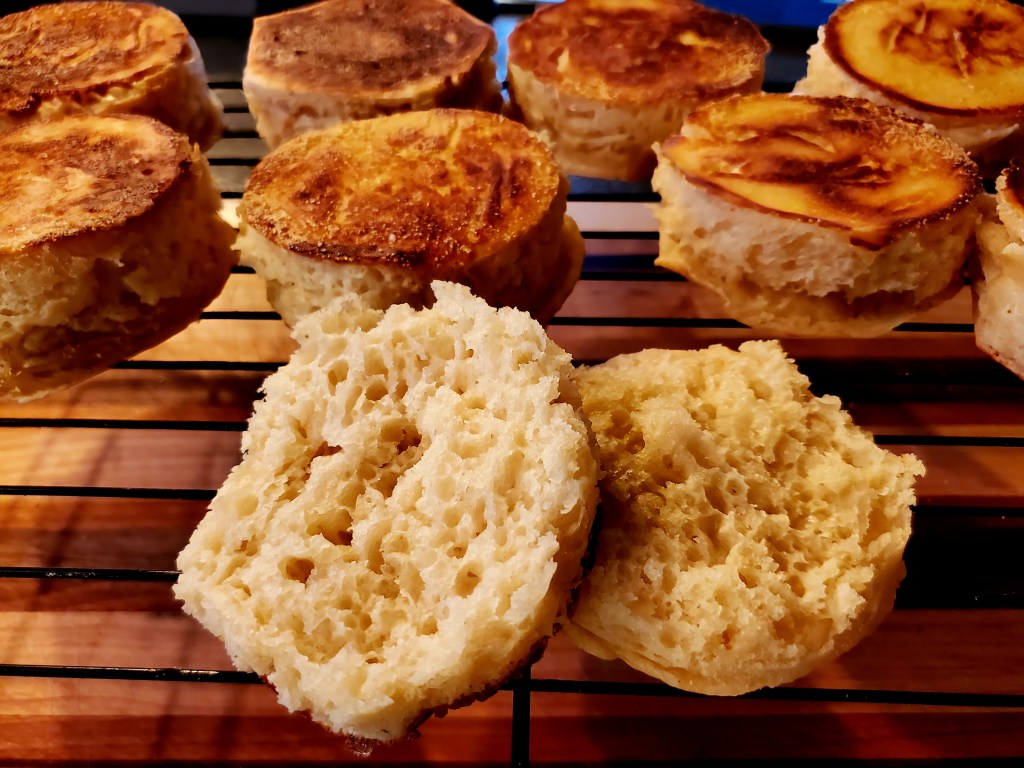
I’ve been working on and off on this recipe for quite a while. I wanted the best of both worlds here. An almost sourdough taste and the nooks and crannies English Muffins are so famous for. I think I nailed it here.
Ingredients:
- 1.5 tsp active dry yeast
- 12 oz warm milk (around 115 degrees F)
- 1/4 cup Honey
- 1 egg white from a large egg
- 3 cups(ish) Bread Flour
- 1.5 Tbs Dry Milk Powder (optional)
- 2.75 tsp Kosher Salt
- Cornmeal
- Vegetable oil or spray
- English Muffin Rings
Instructions:
- In a large mixing bowl, add the yeast, warmed milk, and honey. I heat my milk, then add the honey to it and mix it in, then pour it on the yeast. Whisk together and let sit until foamy.
- With a beater blade, mix in the egg white.
- Mix in about half the flour and if using, mix in the milk powder.
- Add in the salt.
- Add enough of the rest (or more) of the flour, just until the dough is still wet (just past where you would go with pancake batter). You want this dough on the wet side, or you will wind up with bread disks instead of the nice air pockets that form the nooks and crannies.
- Cover with plastic and a towel. Set in a warm and cozy spot for about 4 or 5 hours, or until it has nearly doubled in size. You’re looking for it to be bubbly and smelling yeasty. I’ve let mine sit 8 hours or more, depending on my schedule.
- Place parchment paper on a baking sheet and sprinkle liberally with cornmeal. The more the merrier, you don’t want these things sticking.
- Spray 9 or 10 rings and set them on the cornmeal covered baking sheet.
- Pour your batter/dough into the rings. I fill about halfway each.
- Cover with plastic wrap and place in the fridge overnight. At least 8 hours, but I’ve gone 24 hours. They should have risen ever so slightly and look puffier. The real puff happens on the stovetop, though.
- After the rest in the fridge, heat a cast iron or any pan or griddle of your choice to low heat and coat lightly with oil.
- With a spatula, gently remove the muffins, rings and all, and place in the pan. Grill until browned and flip, then, using a sharp knife, gently release the muffin so the other side will brown. Each side, on my stove, takes about 4 minutes.
- After grilled, move to a cooling rack and let them cool.
- Split with your fingers or a fork.
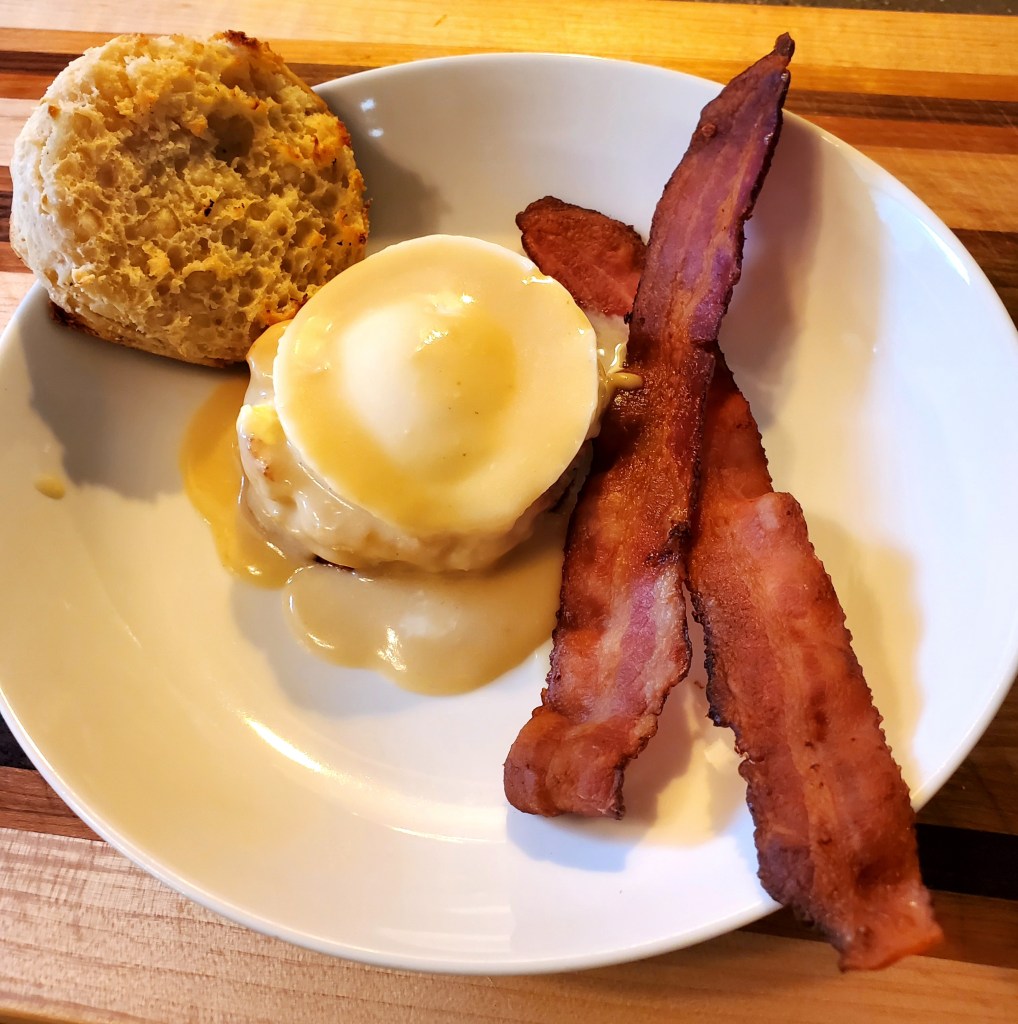
- Enjoy.
- They last about a week on the counter in a sealed container, or a couple weeks in the fridge.


Leave a comment